So far I have most of the major parts of this project complete like the chassis finished and painted, suspension designed, machined and ready for installation, so the only major component that needs to be done is the engine.
I needed to strip the dummy Mazda 13B rotary engine and re-build the engine so that it is ready to be assemble to the gearbox and then fit the engine and gearbox with all the accessories back into the chassis.
The photos show the engine as the assembly takes place, the front rotor and housing is assembled, the water O rings are installed. Note the port shape on the rear primary inlet port, this is my own shape we will see how it goes later.
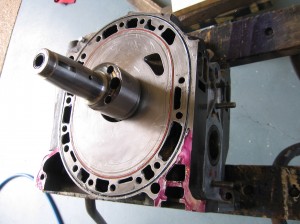
Engine Assembly Front Rotor
Installing the rear apex seals to the rotor in the rear housing.
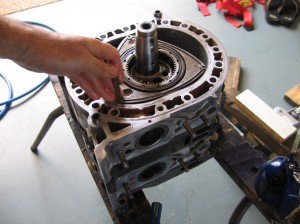
Engine Assembly rear apex seals installed
Tightening the through bolts on the rear housing.
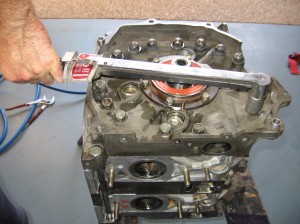
Engine Assembly through bolts
Checking the main shaft end-float.
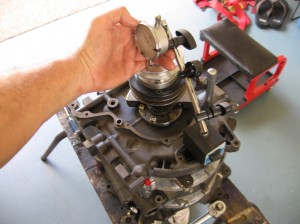
Engine Assembly end float
The finished engine, note the aluminum pulley to drive the alternator on the car.
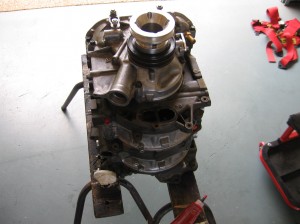
Engine finished assembly
The next series of photos show the installation of the engine and gearbox into the chassis.
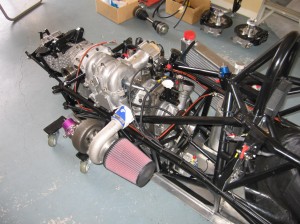
Engine assembled into the chassis
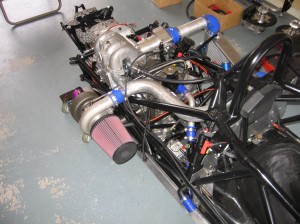
Engine assembled into the chassis 2
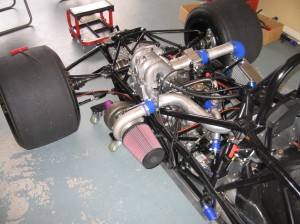
Engine assembled into the chassis 3
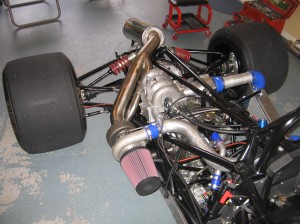
Engine assembled into the chassis 4
Click on the link below to view starting of the engine for the 1st time in YouTube.
click here to view starting the engine for the first time