The next step toward finishing off the rotary hillclimb racing car was paint the chassis and then to wire in the ECU and then to plumb up the cooling system and the pipe work for the intercooler as well as finishing off the manifolds and exhaust system etc. The photo shows the finished painted chassis.
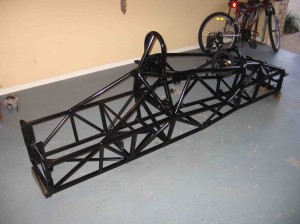
Painted Chassis
The engine management system, ECU that I purchased is designed and made here in Australia it is a Microtech LT10S and I also purchased a small dash to go with the ECU. The photos show the wiring of the coil packs onto the rear LHS of the chassis and setting up the dash above the steering wheel. The ECU came with a full wiring diagram so it was not too difficult to go through step by step. I mounted the ECU and igniter box on the back of the fire wall and the dash I mounted above the steering wheel so that the shift lights were aimed directly into my eyes as I sat in the seat.
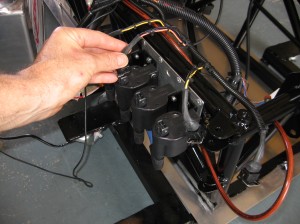
Wiring up coils on chassis
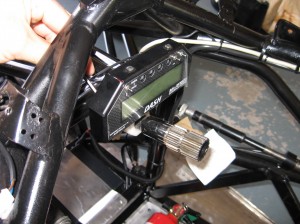
Bolting Dash to Chassis
For the cooling system I have had 2 new radiators made to fit into the chassis as per the Van-diemen set up, they were made by PWR on the Gold Coast. I have removed the Mazda Rotary water pump and replaced it with an electric water pump from Davies Craig as this was a lighter option and it also gave me options to help cool the car in the pits between runs if needed.
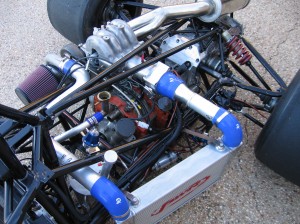
Side view showing Intercooler and Plumbing
The intercooler is mounted out the LHS of the car to help with cooling the incoming charged air. This was also made by PWR on the Gold Coast to my drawings so that it would all bolt into position on the chassis. Next was to plum up the intercooler piping from the turbo to the intercooler and to the inlet manifold.
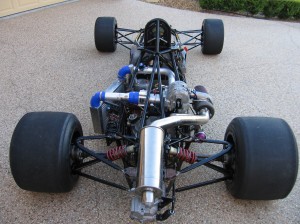
Rear view of car with most of the major components fitted
The plumbing of the exhaust was easier than I thought as I just cut 3 inch stainless steel tubing straight out of the back of the turbo and then fitting bends to run it up to the muffler allowing for the waste gate piping to be blended into the main pipe just before the muffler. The photo shows the rear view of the chassis with most of the major components fitted.