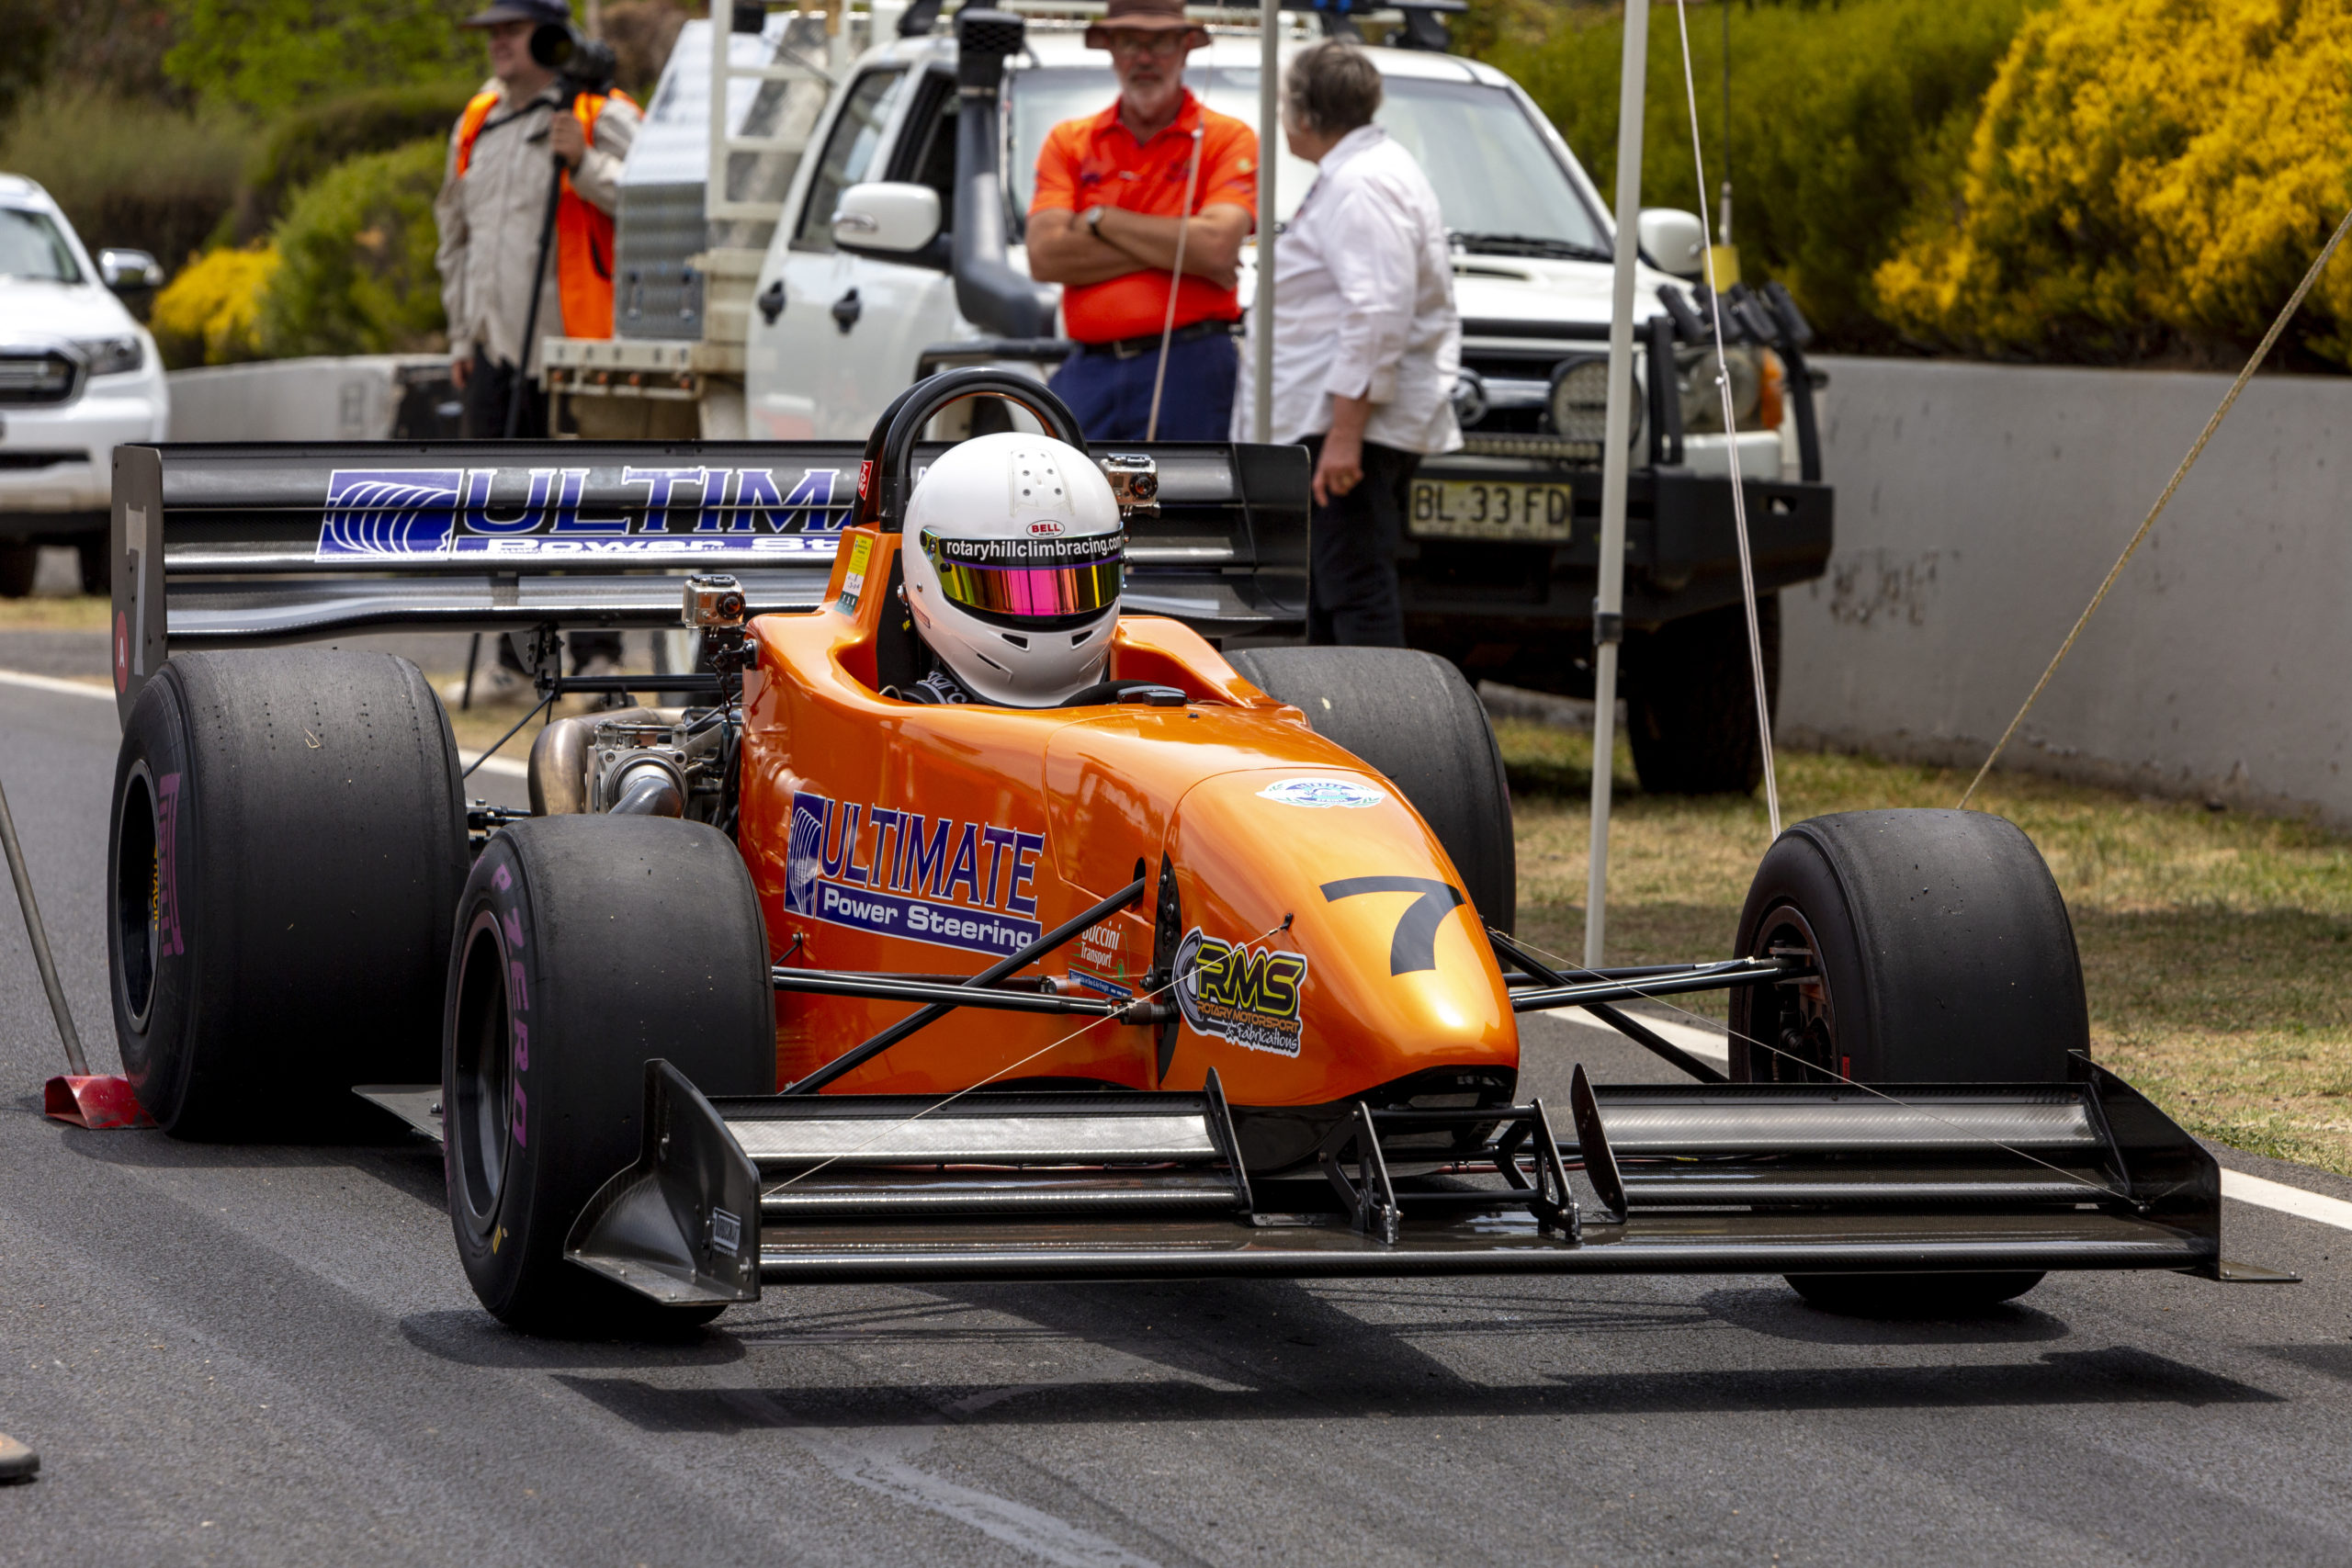
We have been running the new rotary hillclimb racing car for a few months now and during this time the car has performed very well with only a few issues.
Most of the Hillclimb’s have been run in coolers temperature but now as our Queensland summer temperatures are getting hotter the car has been running hotter and forcing out radiator fluid into the catch tank when running at higher temperatures at longer events. I think that the reason that this is happening is that when the Formula Ford Van dieman was designed it did not have a front wing. Now that I have fitted the front and rear wings the air flow around the car has been changed and the radiators are not getting clean air to allow the radiators to cool the engine. To fix this issue I have decided to fit 2 small cooling fans one on each radiator.
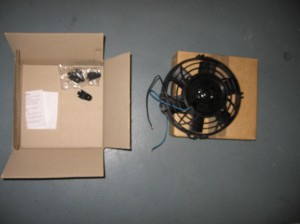
The photo above is the new Davies Craig 8” cooling fan ready to be fitted to the car.
To do this I need to make a shroud to cover the rear side of the radiator to hold the fan, by doing this then the air is forced into the fan through all of the radiator and this should make the cooling better.
The photos below show the stages that I went through to mount the fans to the car.
The first thing was to work out where the fans should go on each radiator.
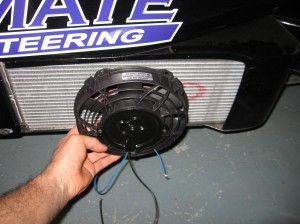
Then I needed to cut and fold up a cardboard templates of the finished fan holder.
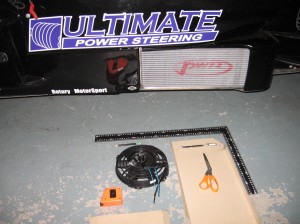
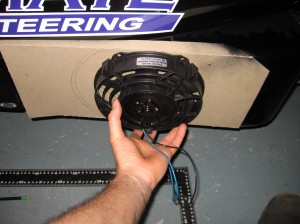
After that I needed to cut and fold-up the same thing as the cardboard template but in 1mm aluminum sheet to mount the fan. Once that was done the fan hole had to be cut and the new aluminum shroud had to be mounted via small brackets to the car.
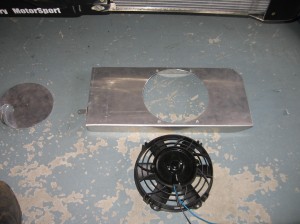
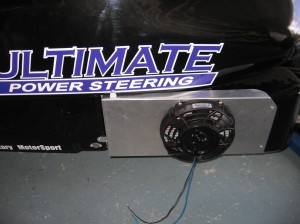
Once the aluminum sheet was folded, the holes were cut, the brackets mounted then I had to paint them so they were not too obvious on the car. The photos below show the finished job I hope that they do what I want.
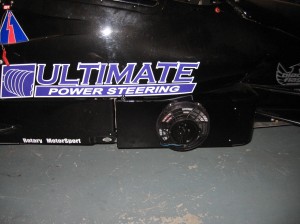
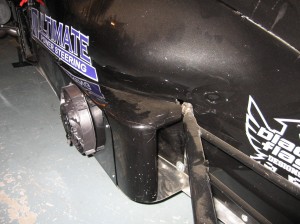
We will find out how this modification goes at the next Hillclimb at Noosa on the 14th & 15th November 2009 fingers crossed that all this works well.
